Key Performance Indicator (KPI) Widgets
What is a KPI widget?
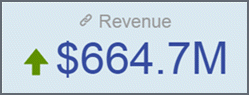
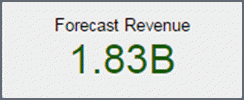
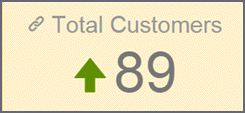
A KPI widget displays the basic number of a measure or expression. It can include a title and an icon indicator.
Select a measure, date type, and aggregate
Change or turn off the KPI title
Add an indicator icon to a KPI
KPI Examples
Open the KPI Builder
Click Edit.
Click Insert and then KPI.

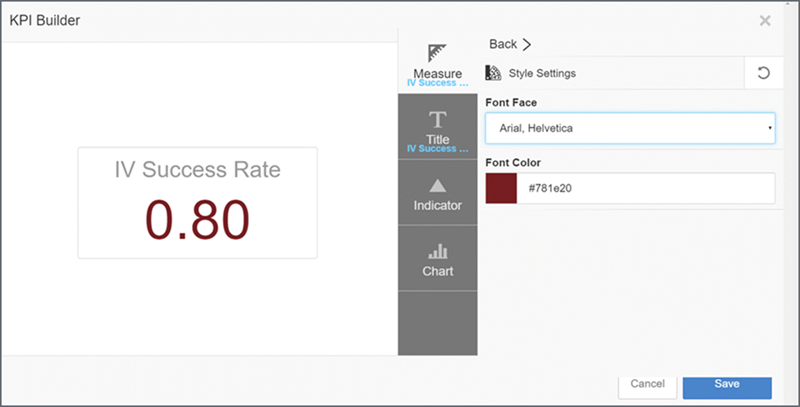
The KPI Builder opens. As you enter the KPI measures and set its purpose, the KPI Builder shows a preview of the KPI.
Select a measure, date type, and aggregate
In the KPI Builder, click the Measure tab.
If the measure has a name, you can find it by entering the name in search. If you don't know the name, click Measures to find it on the list.
The last measure you selected displays by default. To change the measure, click the arrows on the default line.
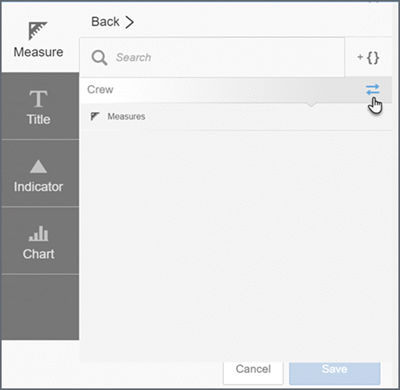
Select the measure from the list.
Formatting a KPI
- In the KPI Builder, click the Measures tab.
- Click Formatting. You can format:
- Units: None (no commas), thousands (K), millions (M), billions (B), or percent (%).
- Suffix: By default there is no suffix label after the measure number. You can add the % label.
- Decimal: Zero to three decimal places, or all. The default Auto is used by the base data.
- Currency: Select one from the list (no default label).
- Click Back when you are done.
- To apply
the styles to the measure, click StyleSettings.
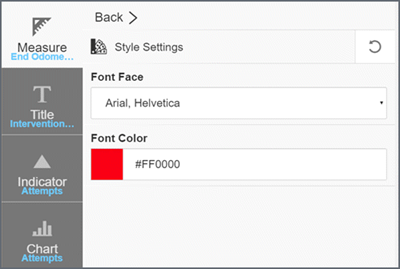
- Select a font face from the list.
- Select a font color (or enter a hex color) and click choose.
- When you are done, click Back.
- If you want
to show the measure title, but
not the data, toggle the
data off.

- Click Save.
- Click Publish.
Change or turn off the KPI title
- In the Edit mode, click the KPI.
- Click the edit button and then click the Edit KPI icon.
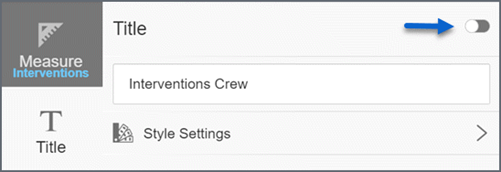
- In the KPI Builder, click the Title tab.
- Highlight the name and then press Back on your keyboard.
- Type the new KPI name.
- Click Save.
- Click Publish.
Turn the title off
- In the Edit mode, click the KPI.
- Click the edit button and then click the Edit KPI icon.
- In the KPI Builder, click the Title tab.
- Slide the
toggle to off.
- Click Save.
- Click Publish.
Add an indicator icon to a KPI
- In the Edit mode, click the KPI.
- Click the edit button and then click the Edit KPI icon.
- On the KPI Builder, click the Indicator tab.
- By default, the toggle is set to off. Slide the toggle to the right to turn it on.
- Select the
measure or expression
for the indicator.
Tip: The indicator can use a different measure than the KPI measure.
- Click Conditional Formatting.
- Use the internal buttons, value slider, and shape/color menus to specify the indicator
ranges.

- Click Save. You can resize and move the
widget just like a dashlet.
Tip: In some cases you may need to Publish the dashboard to refresh the data and indicator.
Add a tooltip description
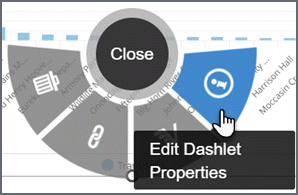
- In the Edit mode, click the KPI.
- Click the
edit button
and then click Edit Dashlet Properties.
- In the description
box, enter the text you want the user to see. For more control over formatting,
use carriage returns and extra spaces
in the text.
Tip: You can use variables, with either the GetVariable('variable_name') or V{variable_name} syntax, in the description text.
- Click Apply.
- Click Publish. Hover over the KPI to see the tooltip.
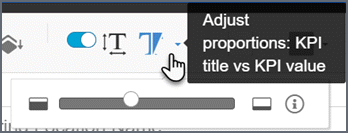
Adjust font size ratios
The scaling ration of settings control the size of the title text versus the measure value number. The slider changes the sizes by proportion.
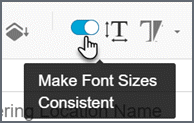
Make font sizes consistent
The fonts inside KPIs are responsive, meaning that the font size increases or decreases according to the size of the browser window or tablet screen. When you have multiple KPIs, this can result in inconstant font sizing. If you prefer to keep font sizes consistent even as the dashboard or dashlet dimensions change, use the 'Make Font Sizes Consistent' option.
- In edit mode, select the KPI. On the toolbar, click the Make Font Sizes Consistent option.
- Move the toggle to on.
- Repeat step 2 for all additional KPIs.
- Optionally, you may want to resize the dashlets to account for the resized fonts.
- Click Publish.