Timeline (Activity Log)
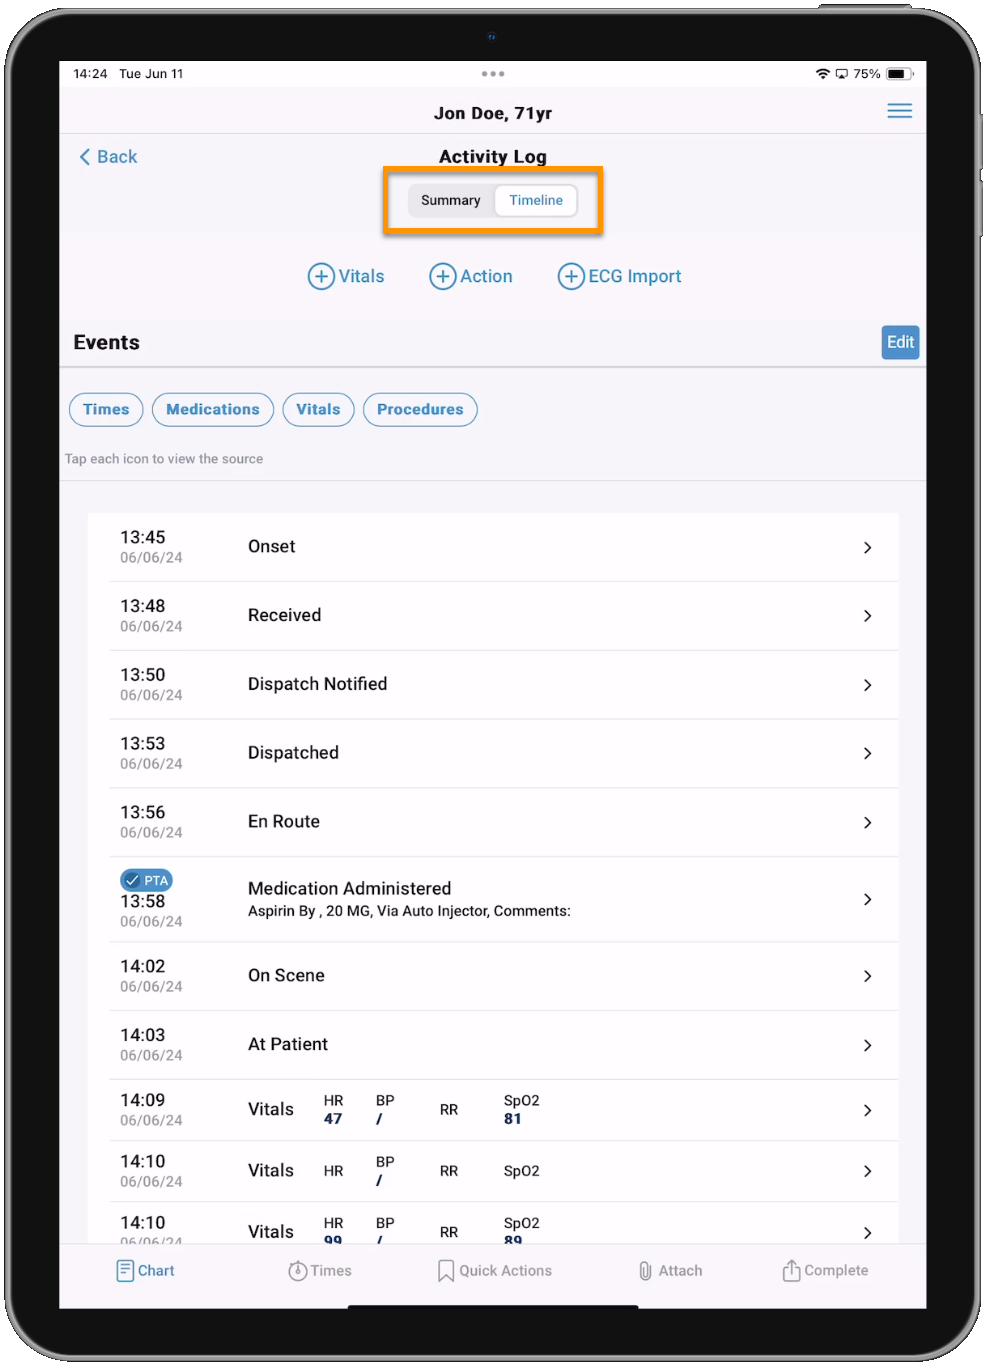
The Timeline page brings you to the Activity Log where you can quickly see important information about the chart like times, and easily document data such as Vitals and Actions. You can also access the ECG Import feature from the Activity Log Timeline view. The Summary view allows you to see information about the patient and trip. The information presented on both views is dynamically updated as you fill out the chart.
If documented, the patient name and age will be displayed at the top of the screen. Use the Summary and Timeline toggle below the patient name and age to switch between the two views. Tap Back in the top-left, or Chart in the Ribbon Menu at the bottom to go back to the Patient Care Report screen.
Timeline
Use the Timeline view to see all the chart times (including Vitals, Actions, and imported ECG events) in chronological order. There are several things you can do on this view.
-
Tap + Vitals, + Action, or + ECG Import to add Vitals, Actions, or import an ECG case to the chart. Learn more about adding Vitals and Actions or importing ECG cases.
-
Vitals and Actions with a timestamp earlier than the At Patient time (or On Scene if At Patient is not documented) will be marked as having occurred Prior to Arrival (PTA). You cannot mark a Vital or Action as PTA if the timestamp occurs after the At Patient time (or On Scene if At Patient is not documented).

-
-
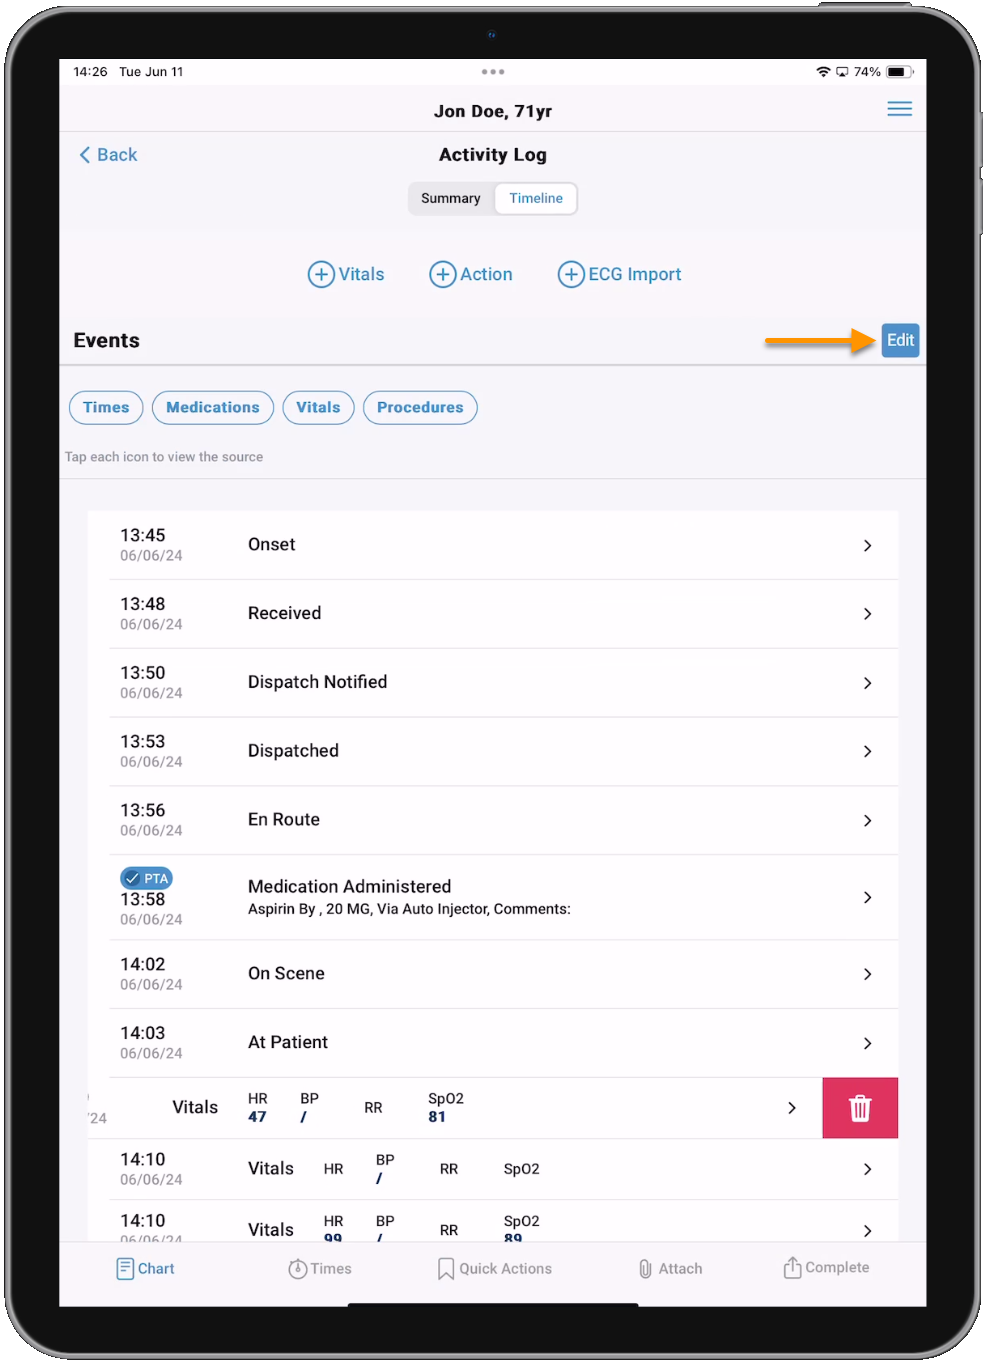
Tap Edit to modify the times of items on the Timeline. The Edit button will only display if you are viewing all items on the Timeline and not filtering by a specific type.
Note: Chart times cannot currently be edited from the Timeline. Only timestamps for Actions, Vitals, and imported ECG events can currently be edited from the Timeline.
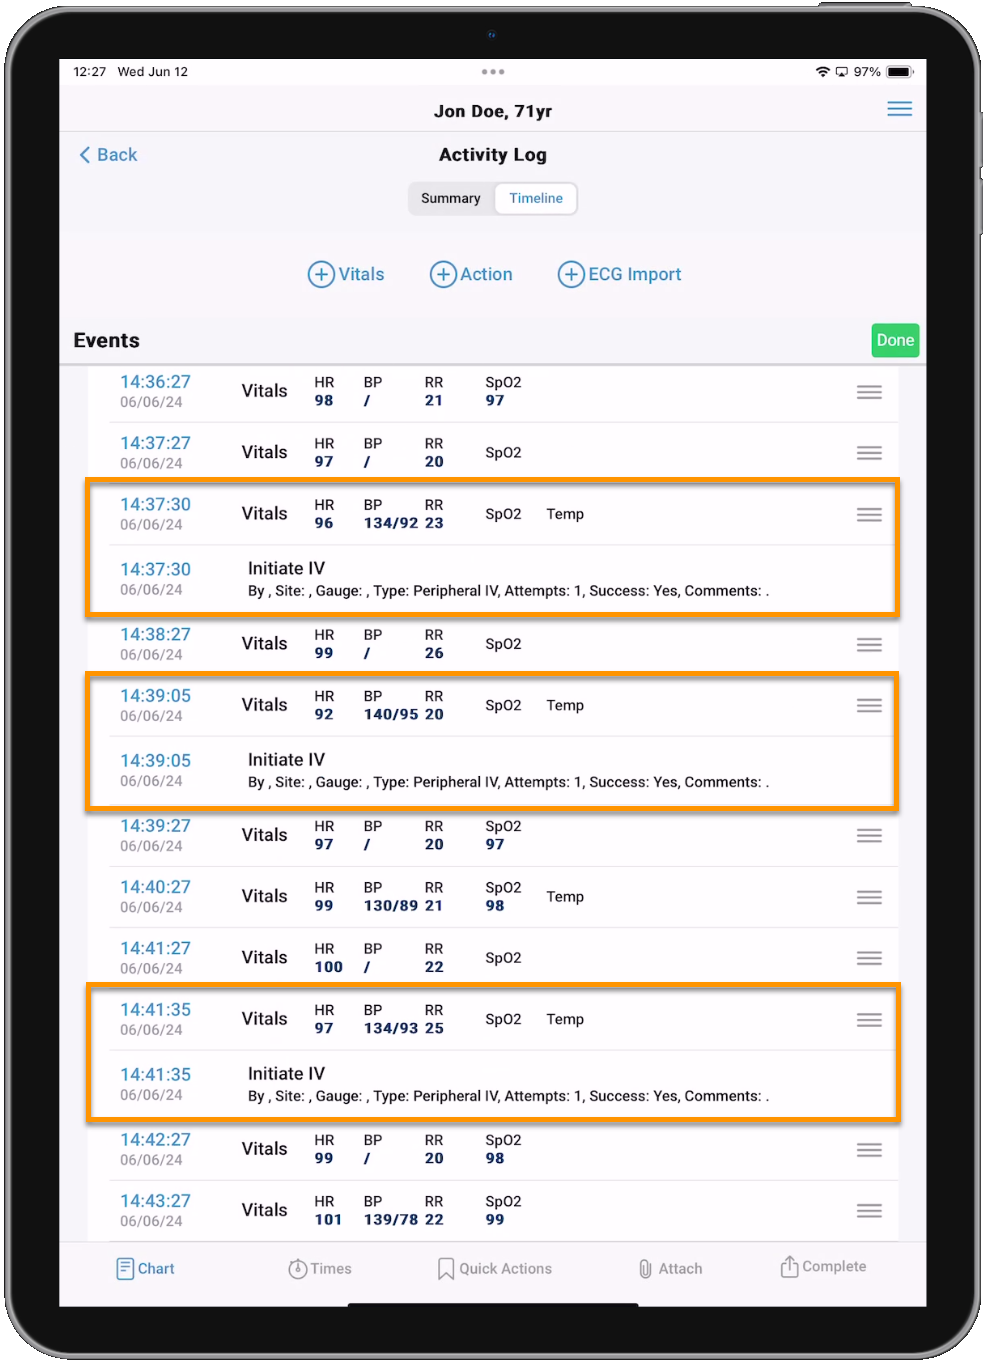
All imported ECG events are linked to a set of Vitals and will use the same timestamp as their associated Vitals entry.
There are two ways you can edit times:
-
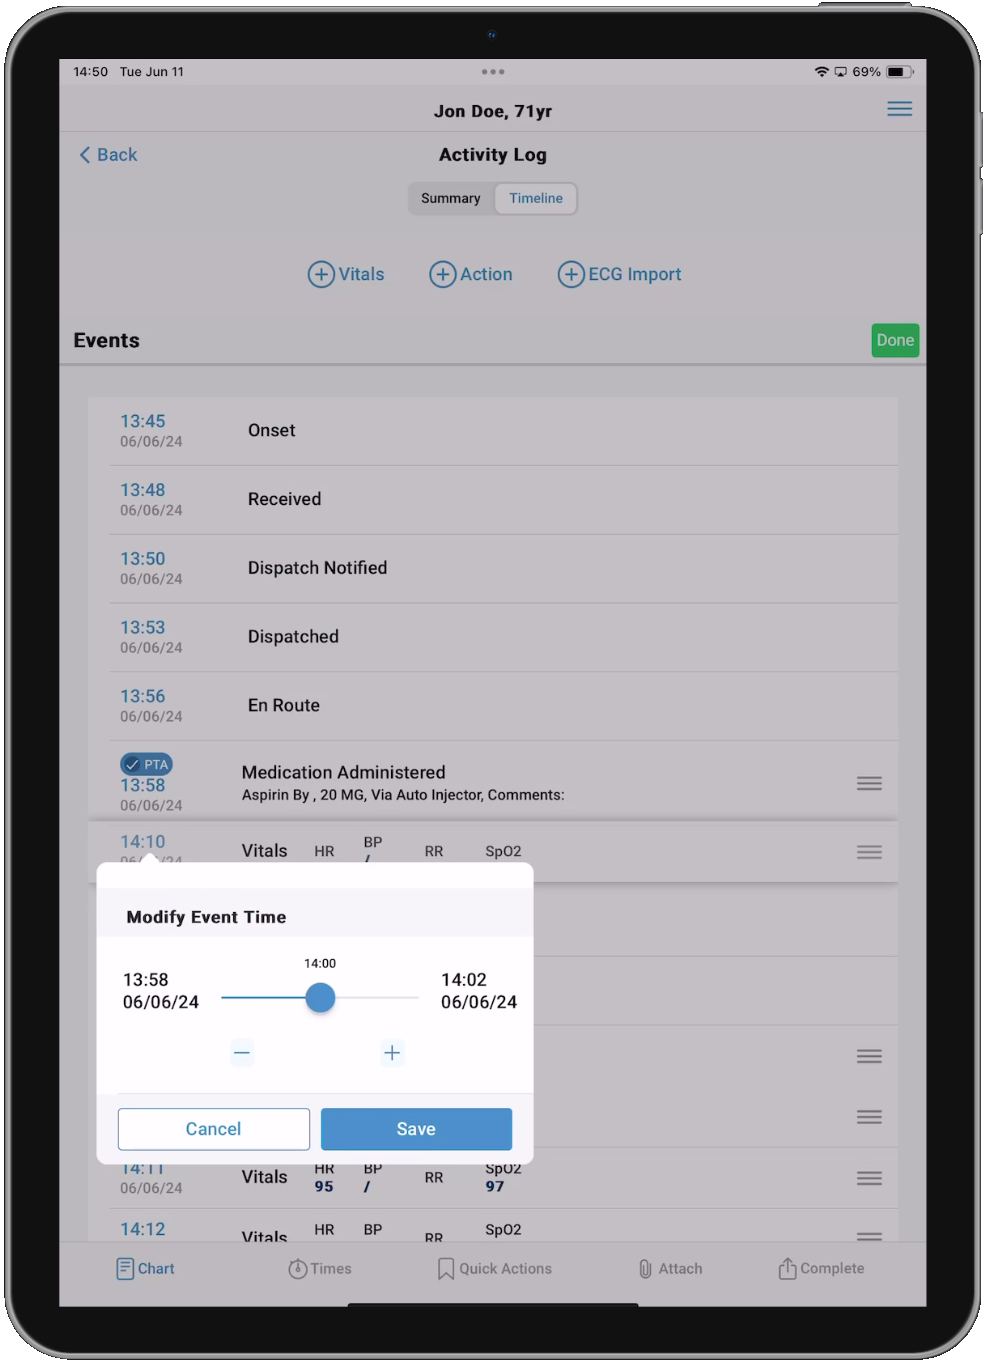
Drag and drop the item using the drag handle icon
 on the right side. When you drop the item in between two other items, a slider will appear defaulted to the middle of the two flanking timestamps. Use the slider or the -/+ buttons to adjust the time. Tap Save when finished.
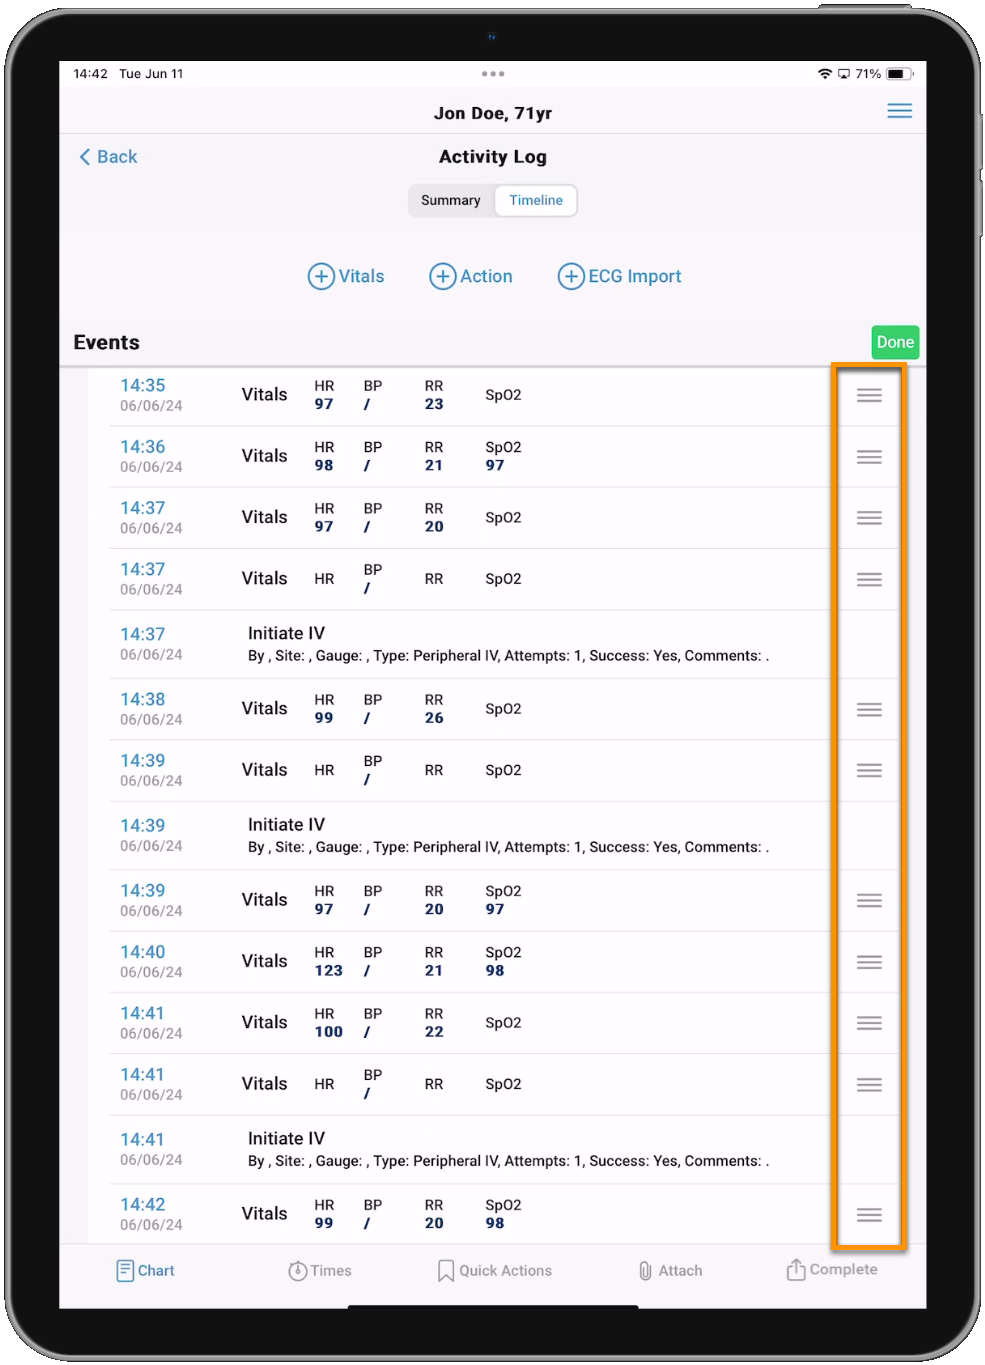
-
Tap the timestamp of a Timeline item and the same time adjustment window will appear allowing you to use the slider or the -/+ buttons to adjust the time.
-
-
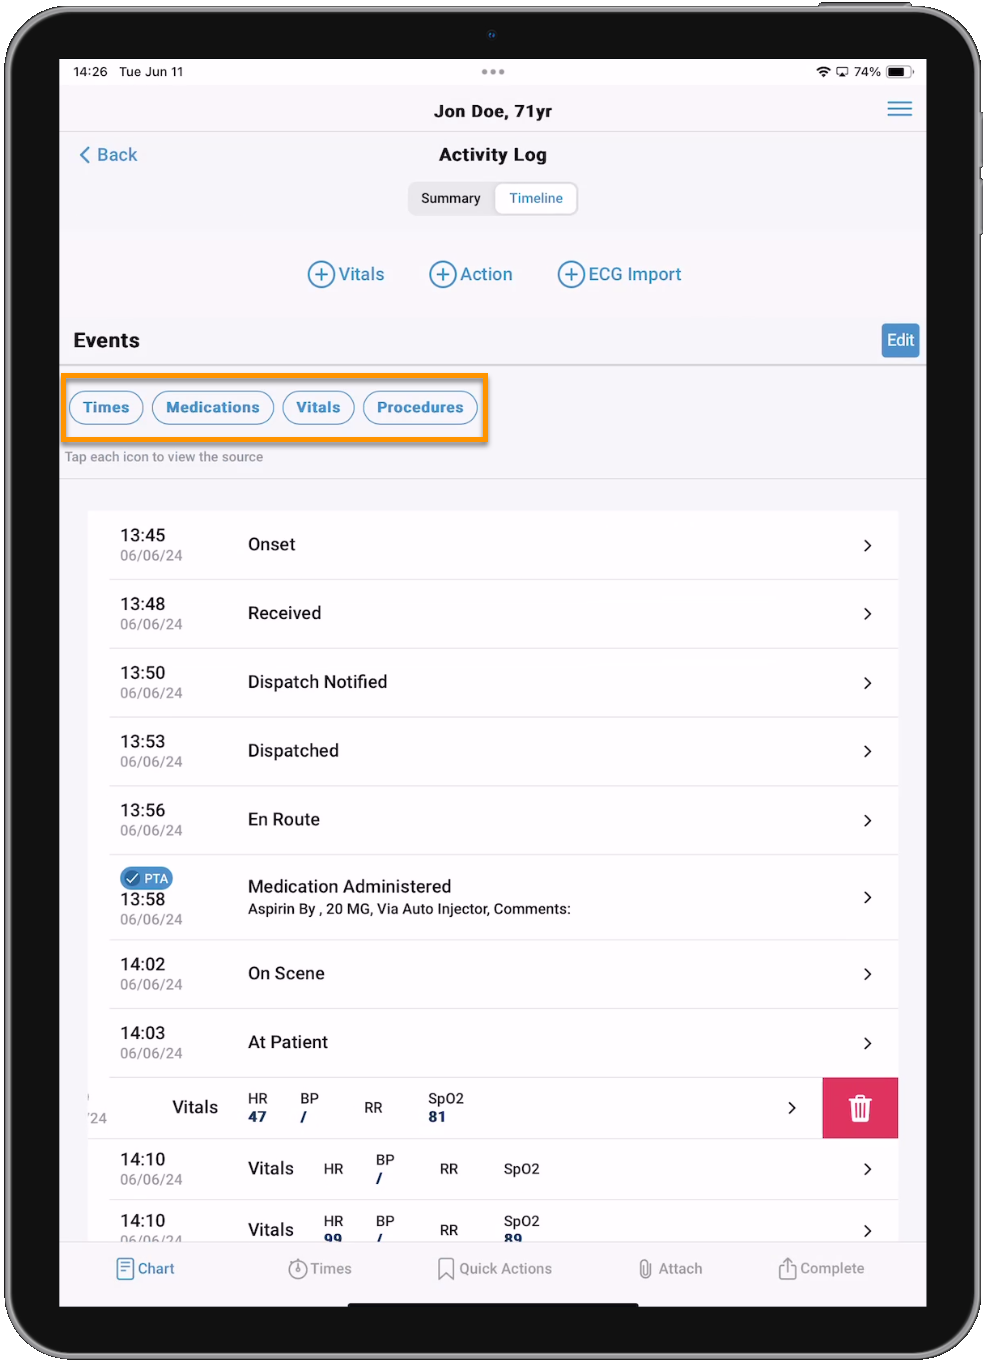
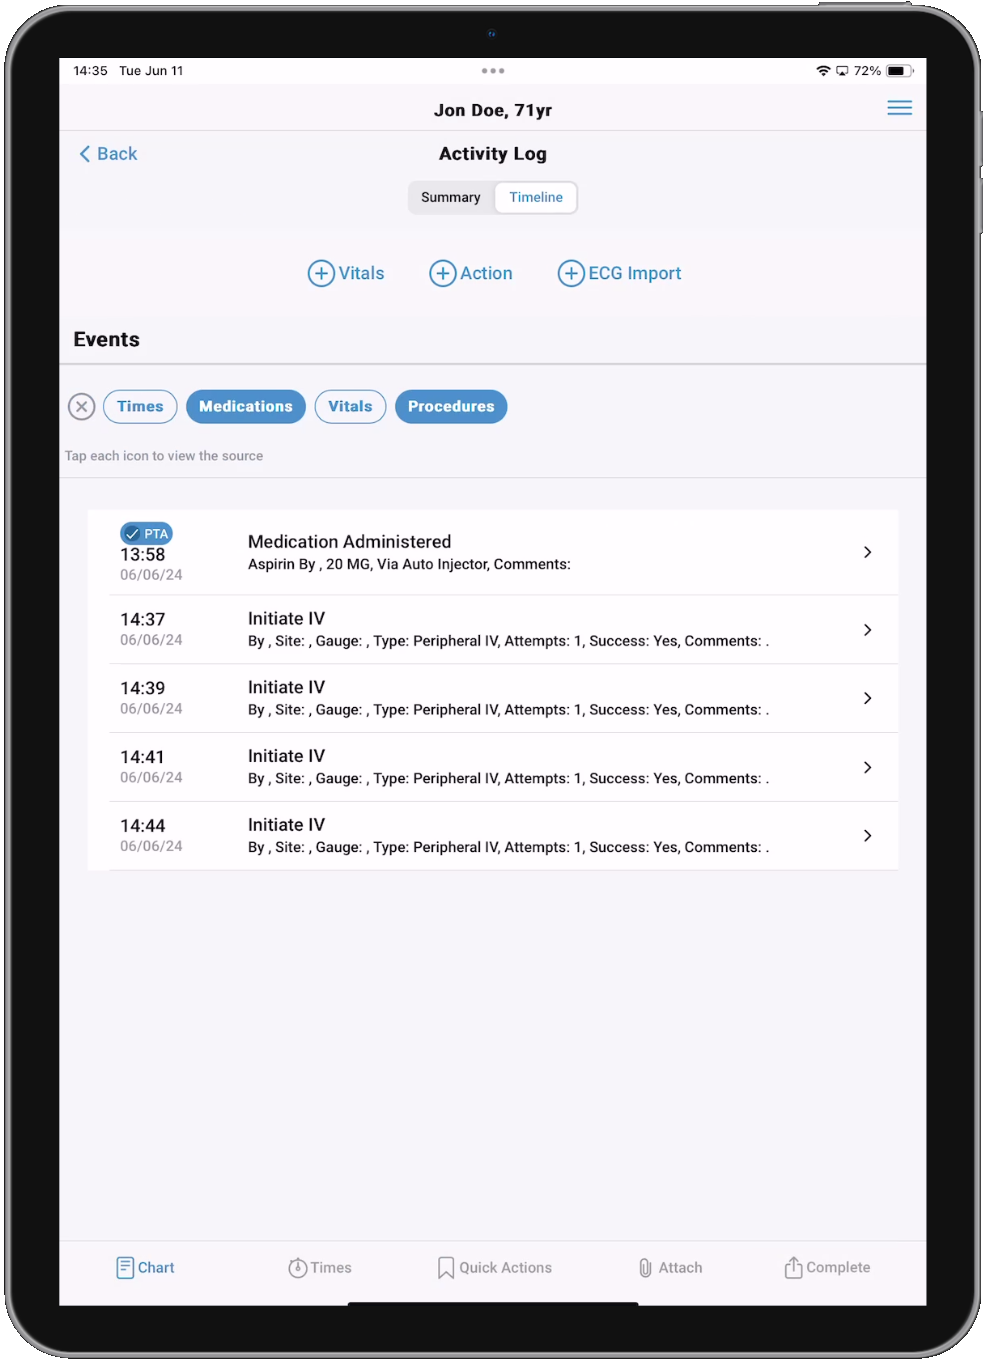
Tap the Times, Medications, Vitals, and Procedures buttons to filter by specific timestamps. By default, all times will be shown. When one or more filters are applied, tap the X to clear them.
Note: The Edit times button will not appear when filtering the Timeline items.
-
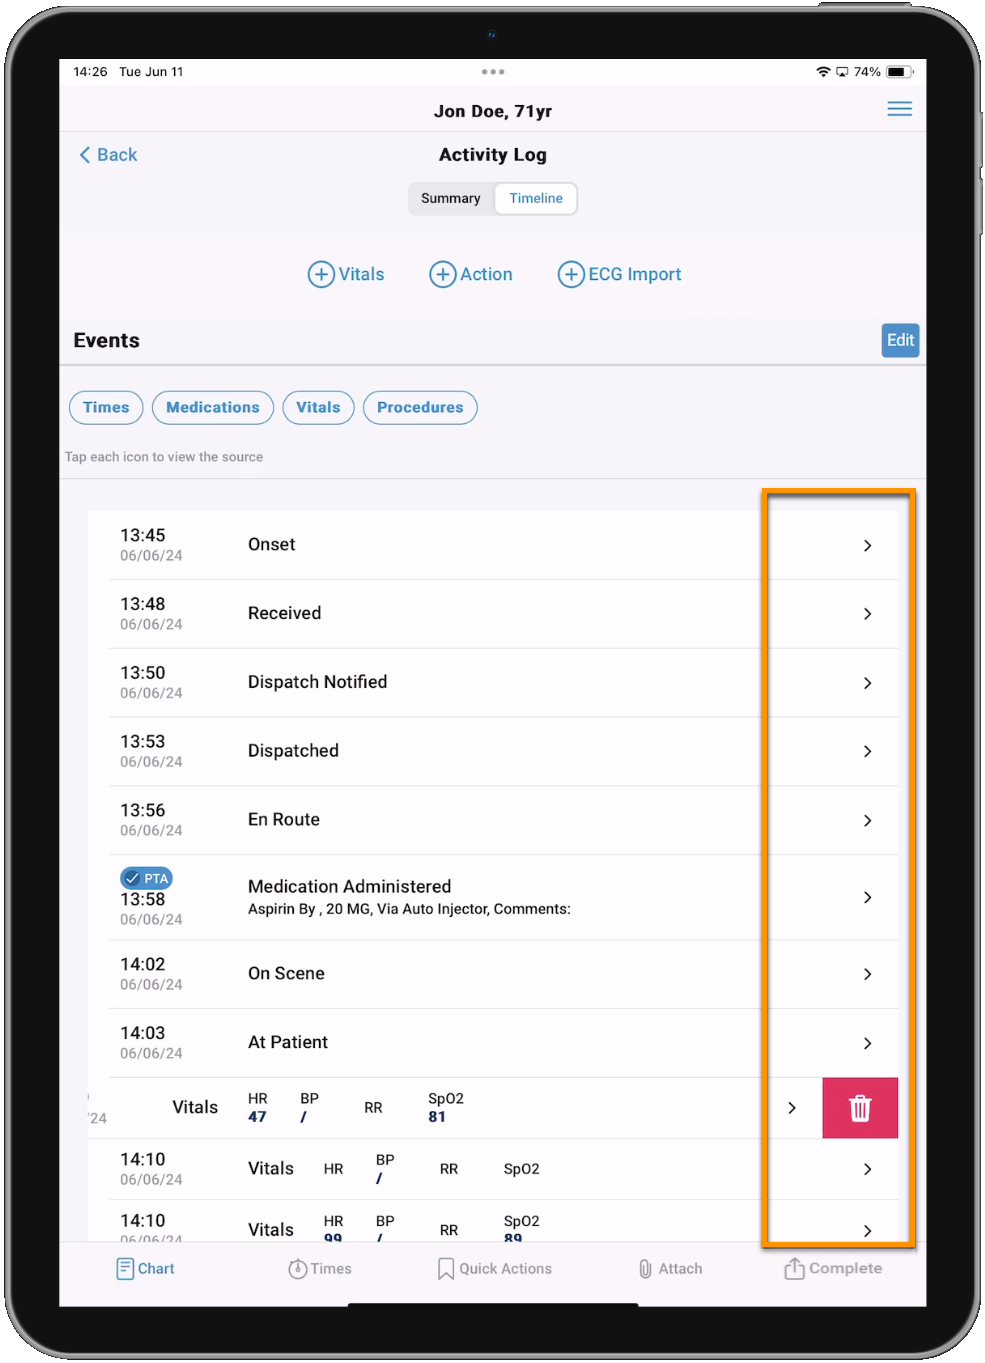
Tap the chevron (>) on any of the times to be brought to the area of the chart where that timestamp can be modified. Swipe left on any time to see a trashcan icon that you can tap to delete that item or timestamp.
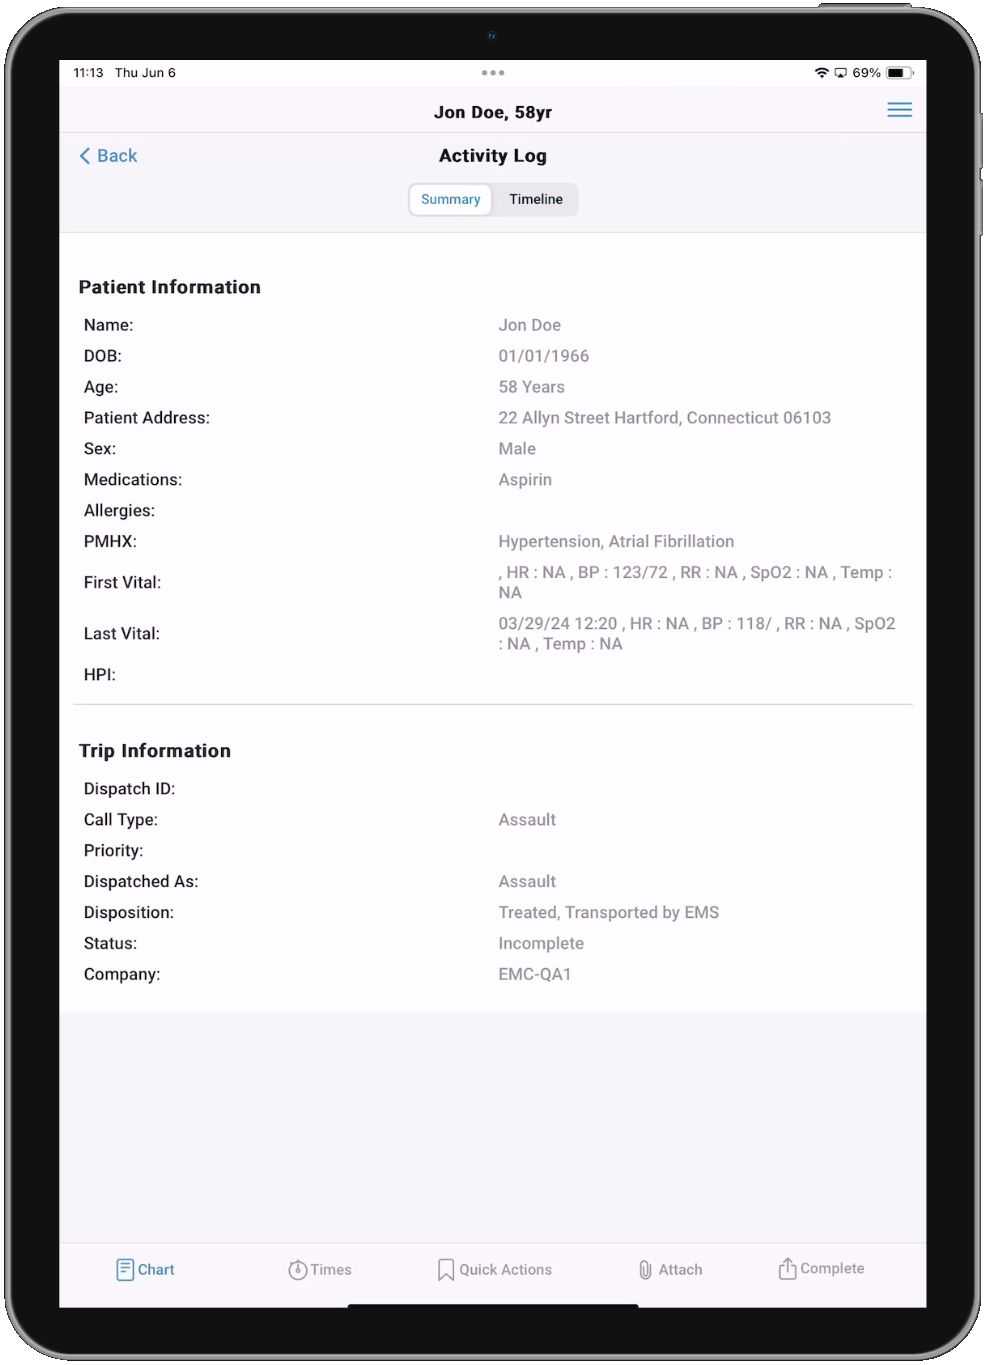
Summary
Use the Summary view to see an overview of the patient and trip details, including first and last Vitals if they have been recorded on the PCR. You can access the Summary screen from anywhere in the application by opening the User Menu and selecting Chart Summary.
Continue to the CAD Import page or go back to the Patient Care Report landing page.