CaseReview Importer
CaseReview Importer is a software tool used to retrieve cases from ZOLL E and X Series defibrillators, a USB, or a file system.
Installing CaseReview Importer
-
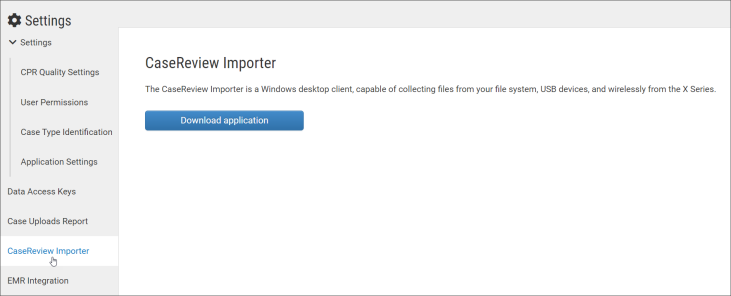
On the CaseReview navigation bar, click Settings > CaseReview Importer.
-
Click Download Application.
-
After the executable downloads to your PC, double-click it to open.
-
Click Run.

-
In the CaseReview Importer Setup window, click Install.

-
Click Yes when asked if you want this application to make changes on your device.
When setup is complete, you see the following window:

-
Click Close.
For easy access, display a CaseReview icon on your desktop. To make an icon, click Start and right-click on CaseReview Importer. Keep your mouse button down and drag your mouse to your desktop. Release you mouse button.
When CaseReview Importer is minimized, the displays in your system tray.
Configuring CaseReview Importer
-
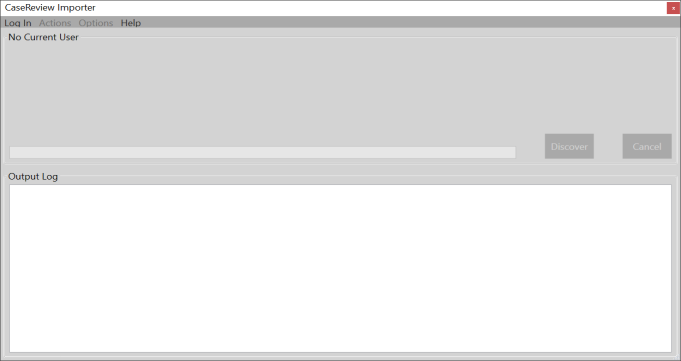
Click the CaseReview Importer icon on your computer screen or click Start > All > Programs > CaseReview Importer. The CaseReview Importer tool displays.
-
Click Log In on the top left corner.
-
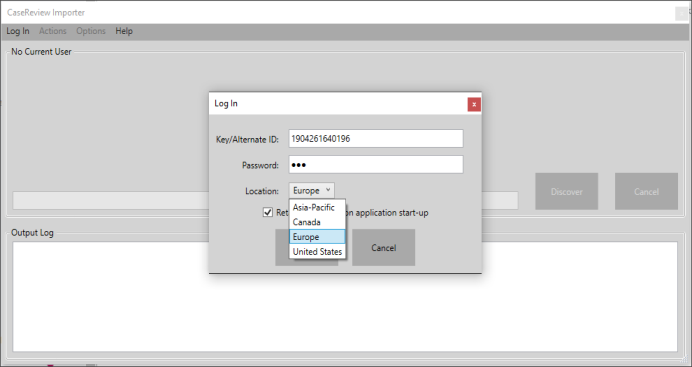
From the DAK section of the Settings page, enter your Key/Alternate ID and password.
-
Location: Click the Location field and then select the location where the files will be imported from.
-
Retain credentials: If you want to retain these setting for future start-ups, then check the box.
-
Click Log In.
CaseReview Importer defaults to United States. You will need to modify the config file to import cases to an international server:
-
https://boundarysvc.zollonline.com/GemstoneWebApi (United States)
-
https://boundarysvc.ca.zollonline.com/GemstoneWebApi (Canada)
-
https://boundarysvc.au.zollonline.com/GemstoneWebApi (Asia-Pacific)
-
https://boundarysvc.eu.zollonline.com/GemstoneWebApi (Europe)
Click Log in. The Importer verifies your credentials and logs you onto the system.
-
-
Click Options > Automatic Upload Configurations.

- Enable Auto Upload for USB: The system automatically uploads cases from a USB device (when detected on the network) and displays a dialog box that prompts you to upload all the case files, a specific case, or cancel the upload.
- Include Sub-directory Searching: Includes sub-directories in the search when a user clicks Discover.