Configuring the Billing API
ZOLL Billing can generate claims based on ePCRs received from RescueNet ePCR, emsCharts, and third party vendors (that supply data in a NEMSIS 3.4 or 3.5 format) through the Billing API. The API comes standard on each ZOLL Billing product.
Gather this information to give to your ePCR agency
You will need to gather the following information to give to your ePCR agency:
-
Your account ID: The Company account ID is the value used for your organization (your ZOLL Online Account ID). It is easy to find your account ID, just hover over 'Company' on the ZOLL Online navigation bar.
-
This URL: https://boundarysvc.zollonline.com/NEMSISWebService/NEMSISV3Service.svc

XML snippet:
<soapenv:Envelope xmlns:soapenv="http://schemas.xmlsoap.org/soap/envelope/" xmlns:ws="http://ws.nemsis.org/">
<soapenv:Header/>
<soapenv:Body>
<ws:SubmitDataRequest>
<ws:username>[user]</ws:username>
<ws:password>[password]</ws:password>
<ws:organization>[Company – Account Id]</ws:organization>
<ws:requestType>SubmitData</ws:requestType>
<ws:submitPayload>
<ws:payloadOfXmlElement>
- Username/Key and password (API credential): Not everyone can generate API credentials. You must be a Company Administrator in ZOLL Billing to have the correct permissions enabled.
Find out how to grant user permissions.
After the user has permissions set, generate the API credential.
Grant users permission to create the Username/Key and Password
The first step in generating the username/key and password is to give permissions to the user that will be administering the credential. The user must be a Company Administrator in ZOLL Billing.
- Log onto ZOLL Online and go to Admin > Billing > User Accounts.
- Go to the Administration roles & permissions banner and check the box next to Edit API credentials and View API credentials.
- Scroll down and find the NEMSIS import roles & permissions banner. Change the product access from no to yes.
- Click Save.
- The user will need to log off and back on to see the NEMSIS Import tile in Admin.
Create the API credentials - username/key and password
- Go to Admin > NEMSIS Import > API Credentials.
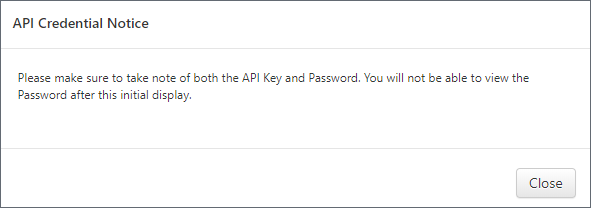
- Click the plus sign next to 'Add New API Credential' on the upper left of the screen. Read the message that displays. You can see the key later on but you won't see the password again so it is very important to note the password.
- Click Close.


More things to know:
- You can enable, disable, and delete a key.
- Clicking a link for an existing key will display the key again but not the password for the key.
- You can create multiple keys.