Sending Accounts to Collections
Collection agencies are not pre-configured in your system. Instead, you create them on the fly as you move an account or claim to collections. The following information shows several places you can go to create a collection agency. Keep in mind that it doesn't really matter where you add an agency (Claim or Patient Billing page), once created it will be available from anywhere in the system for future use.
Important! First time entering a collection agency
-
If there are NO collection agencies configured in your system, the "Move to collections" window will be blank. Enter the name of the collection agency in the "Collection agency" field and then click Confirm to add your first agency.
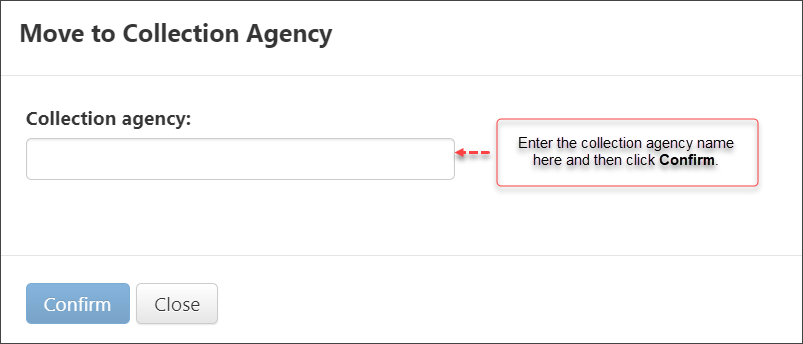
The next time this window displays, the agency you just added will be listed and available for selection.
Sending accounts to collections
You can move one account or multiple accounts to collections at a single time. The account must be in a "Collection letter sent" or "Final statement sent" status.
Watch the video or read the following instructions to find and review the accounts/claims that are ready for collections, moving accounts in a batch, defining which agency to send the accounts to, and which report to run to actually send the accounts.
-
On the navigation bar, click Claims > Patient Billing.
-
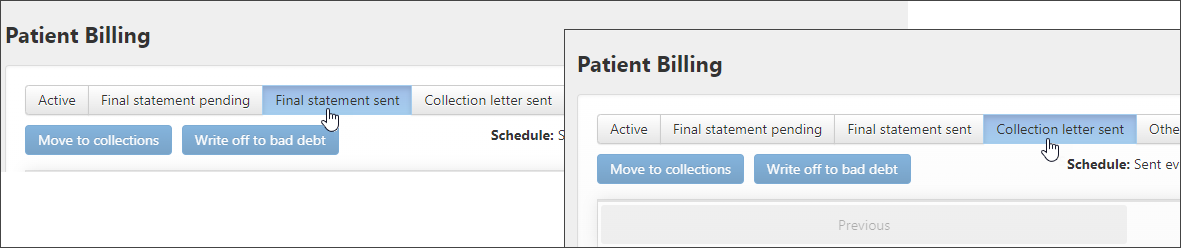
Depending on the account's status, click either the Final statement sent or Collection letter sent tab.
-
A list of accounts display in the grid. To select:
-
One account: Check the box next to the patient's name on the list.
-
Multiple accounts: Check the box next to the name of each patient until all accounts are selected.
-
All accounts: Check the box at the top of the grid next to "Patient name." In this case, all lines will highlight in yellow and all boxes will be checked.
-
-
Click Move to collections.

-
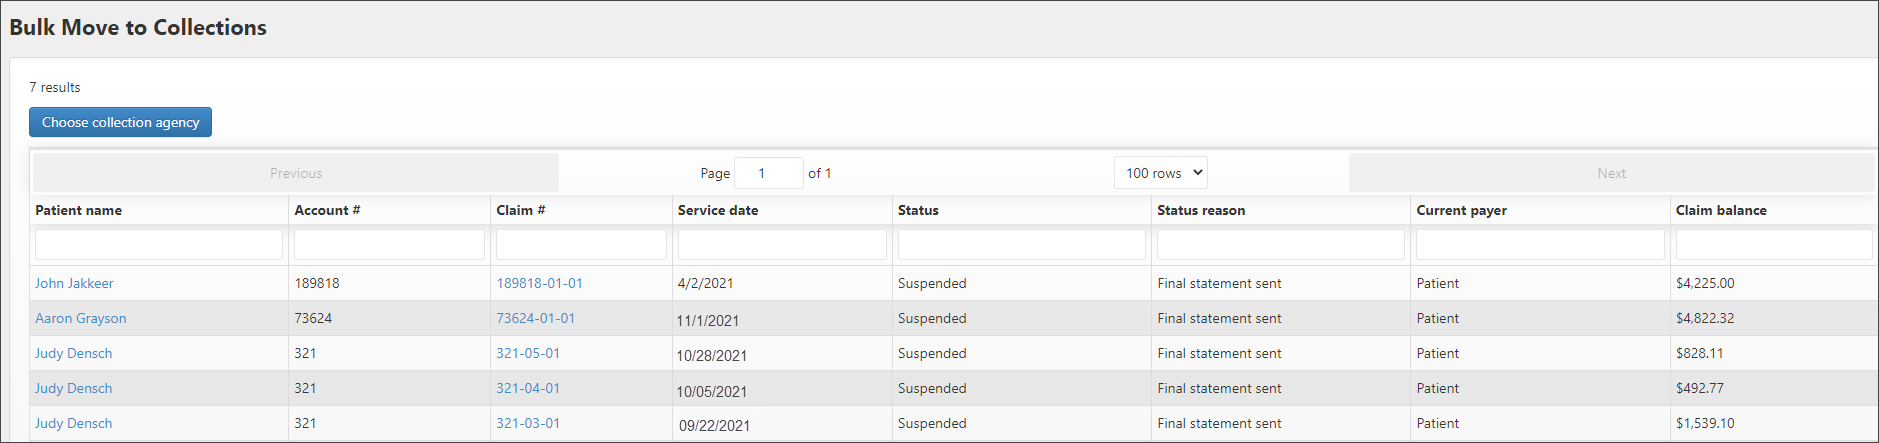
The next page displays the selected accounts. Check the list to ensure that it is correct. If not, go back to the previous page and try again. If everything looks good, click Choose collection agency.
-
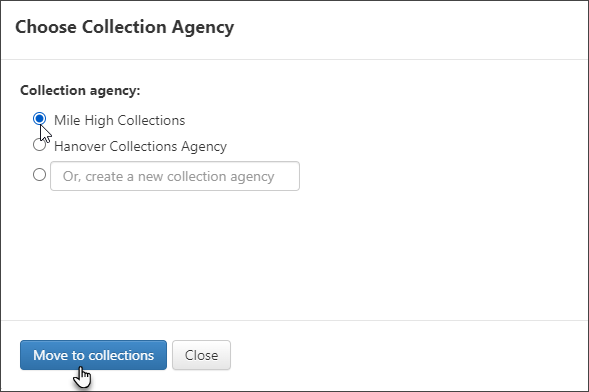
On the Choose Collection Agency window:
To add a collection agency, enter the name in the Or, create a new collection agency field.
If the agency is already in the system it appears on the list. To select it, click the radio bullet next to the agency's name.
Click Move to collections.
You will see a message confirming the successful move of the accounts.
-
On the top navigation bar, click Analytics > Reports.
-
Click Send to Collections.
-
Click Deposit Date and enter the date you sent the account to collections.
-
If you selected "Deposit Date" then select No Accounting Period in the Accounting Period field.
-
Deposit Start Date: Enter the dates you wish to view in which you sent the accounts off to collections.
-
Click View Report.
The report contains everything your collections agency needs to process the collection. You can print or email the report to the representative for the collection agency.
Permission needed to move accounts to collections
To move accounts to collections and to write off bad debt, the Adjustment Posting setting must be enabled for your user account. If it is NOT enabled, you will not see those buttons on the Patient Billing page.

Tracking accounts sent to collections
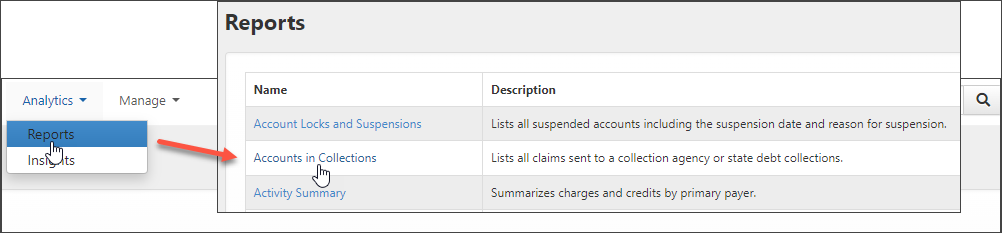
If you need to see all the accounts currently in collections, try running the "Accounts in Collections" report. This report lists accounts sent to both the collection agency and state debt collections.
-
On the navigation bar, click Analytics > Reports.
-
Click Accounts in Collections.
-
Enter the start and end date.
-
Click View report.